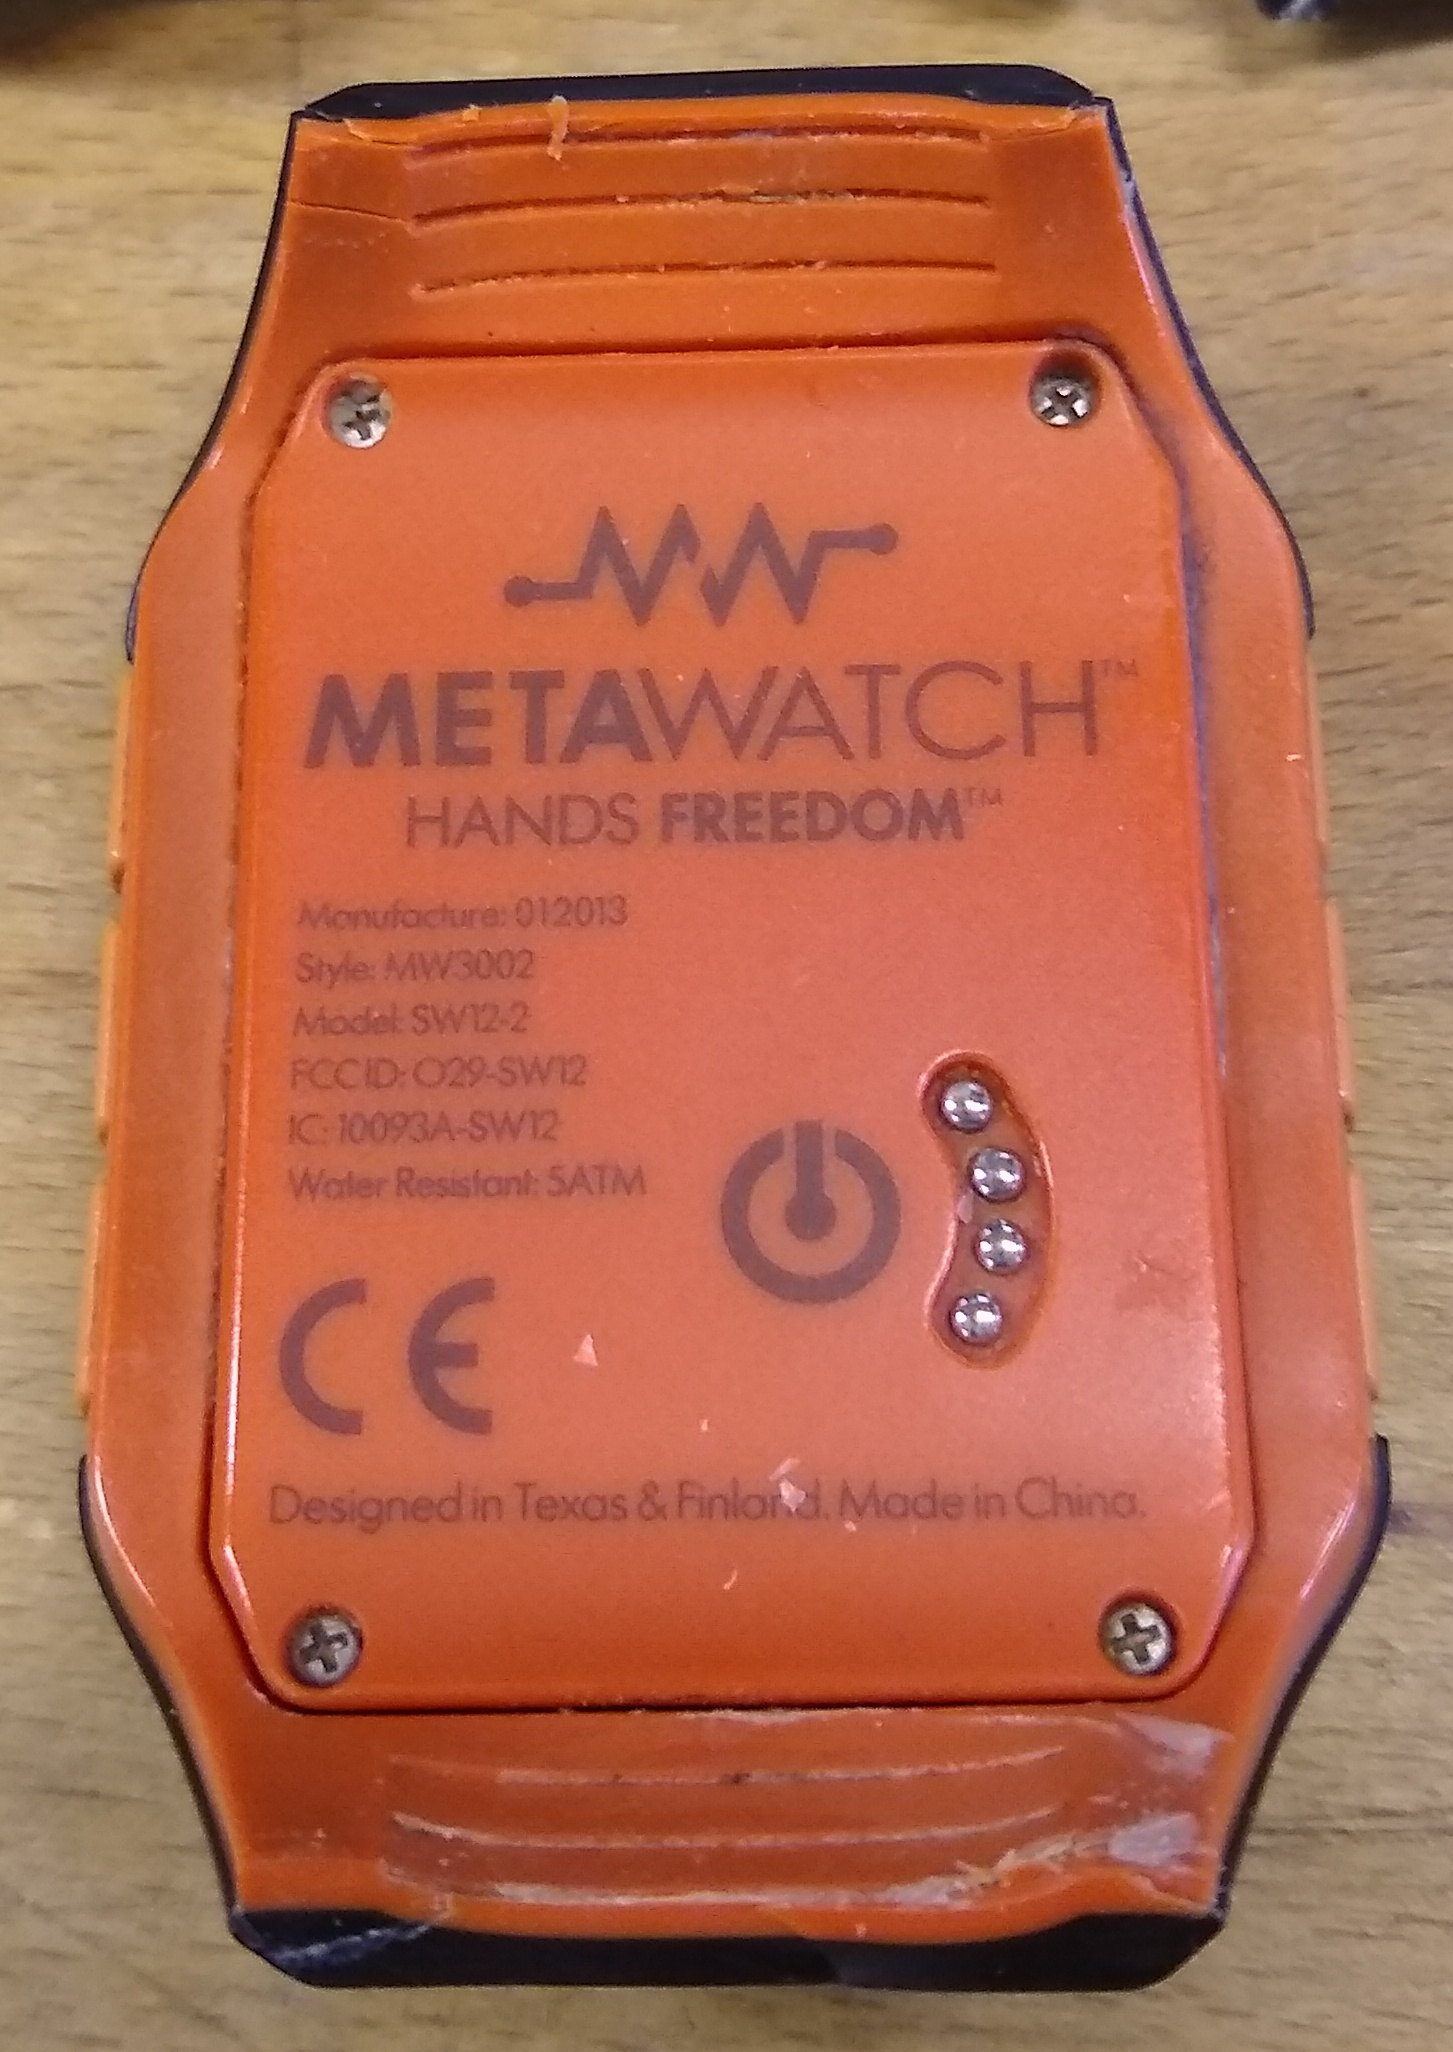
MetaWatch wristband
After many years of use, the wristband of my MetaWatch Strata watch failed. For a while I patched it using glue and gaffa tape, but in the long run having to re-do the tape a few times a month was cumbersome.
Since the Strata has an integrated wristband, a simple "replace the wristband" is not an option. Also, the housing is the part that keeps the buttons aligned to the watch, so while designing a new hosuing is possible, it is a large job. My confidence in my own 3D modeling skills isn't great enough to start on that task.
So I decided to design a "holder" around the watch that I could 3D print in flexible material and attach straps to, to create a replacement wristband.
Straps
The straps are simple enough, they just need to be of a certain length, width and thickness, with holes for fasteners.
Outer strap: 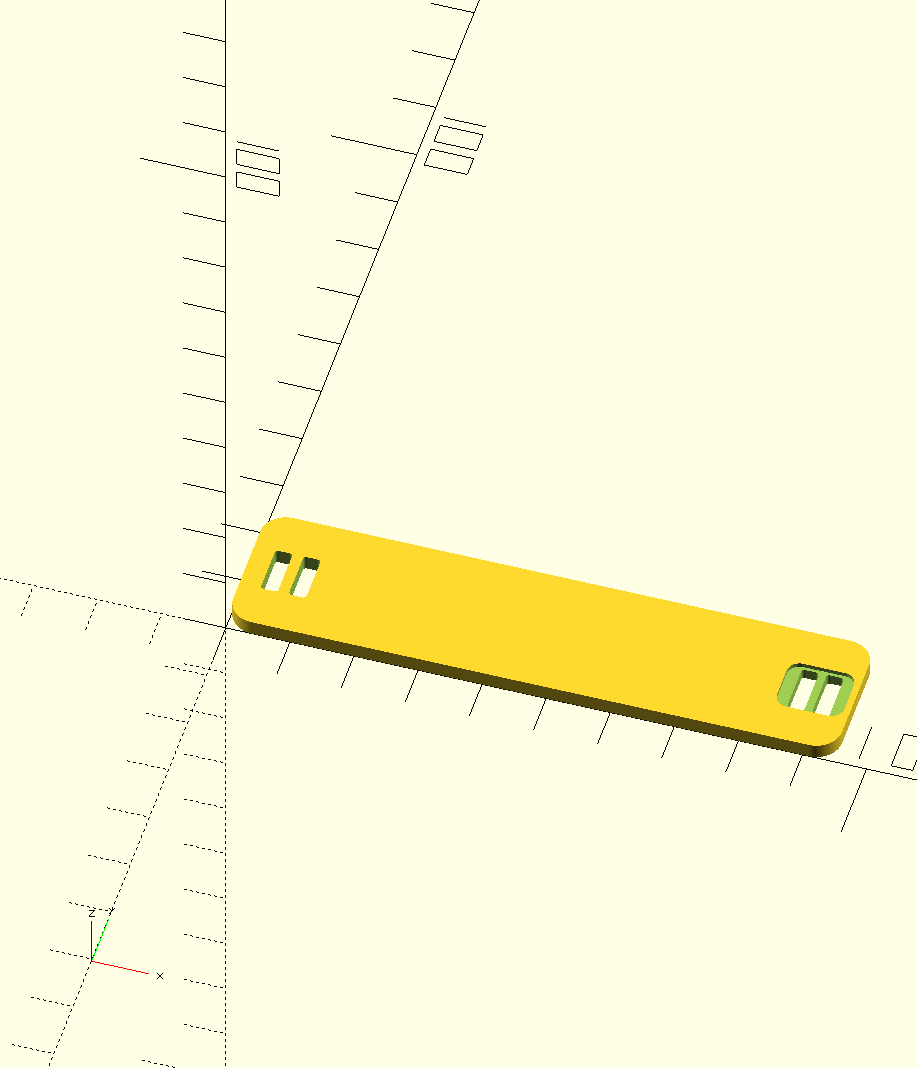 Inner strap:
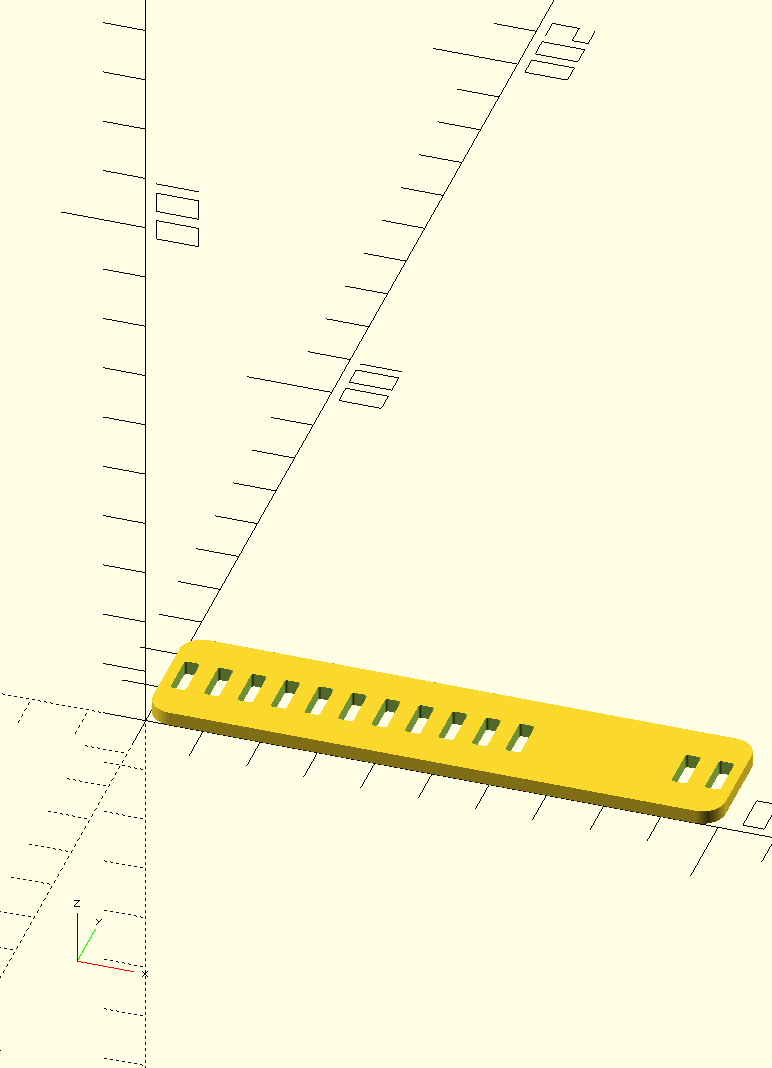
The fastener design is based on the fastener for my Fitbit Flex wristband, quite simple to model in OpenSCAD.
Fastener: 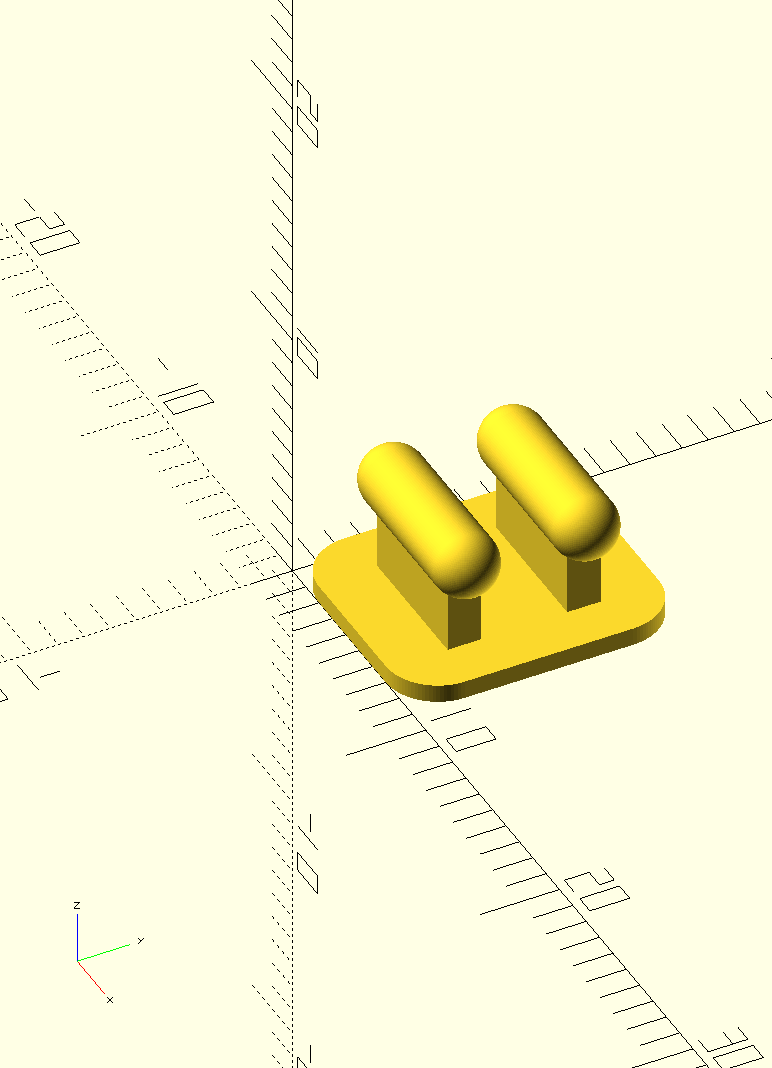
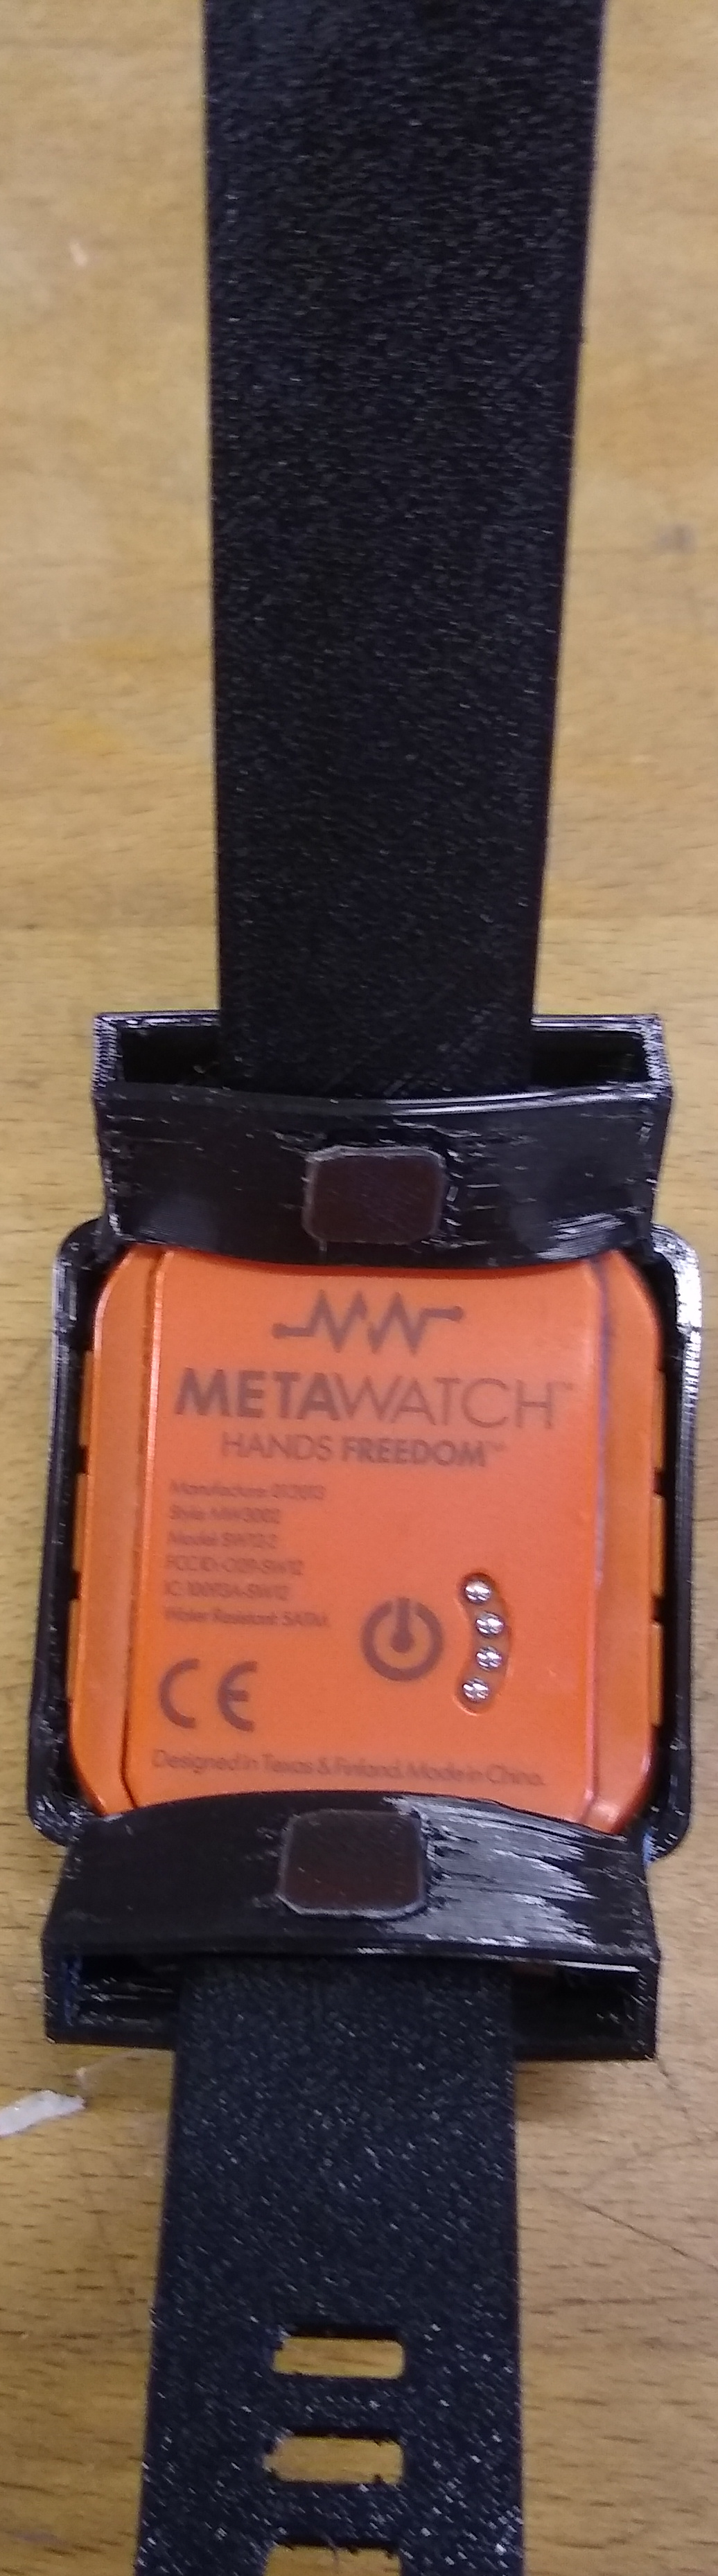
Finally, the watch holder itself. I think this is the most complex design I have made in OpenSCAD so far. It is not very beatiful, but it is functional. My nickname for this version is "Brutalist edition".
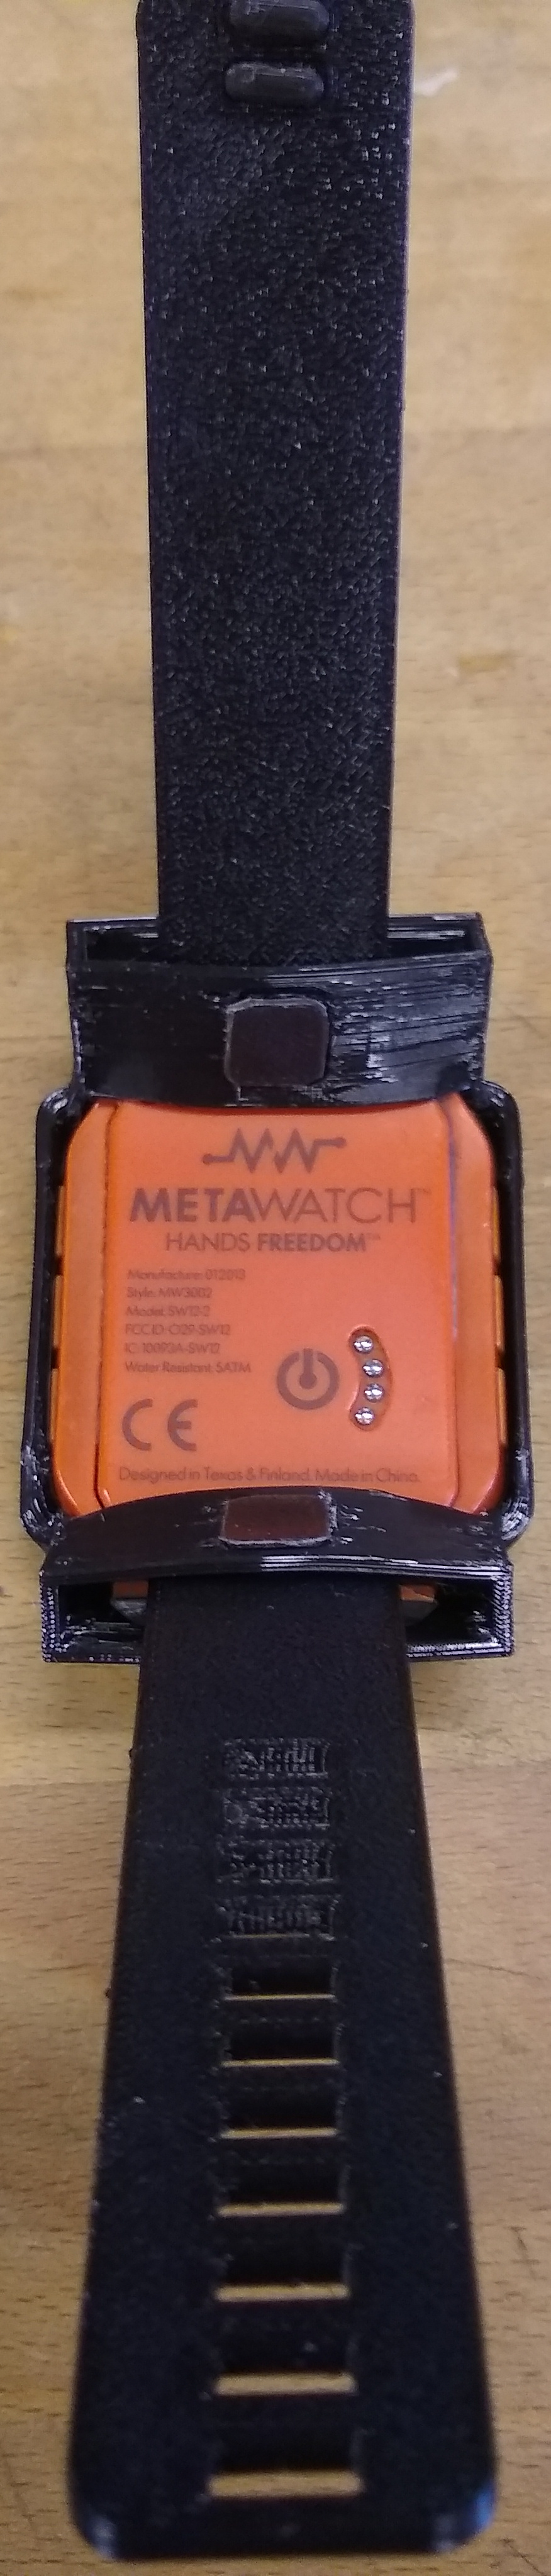
Watch holder: 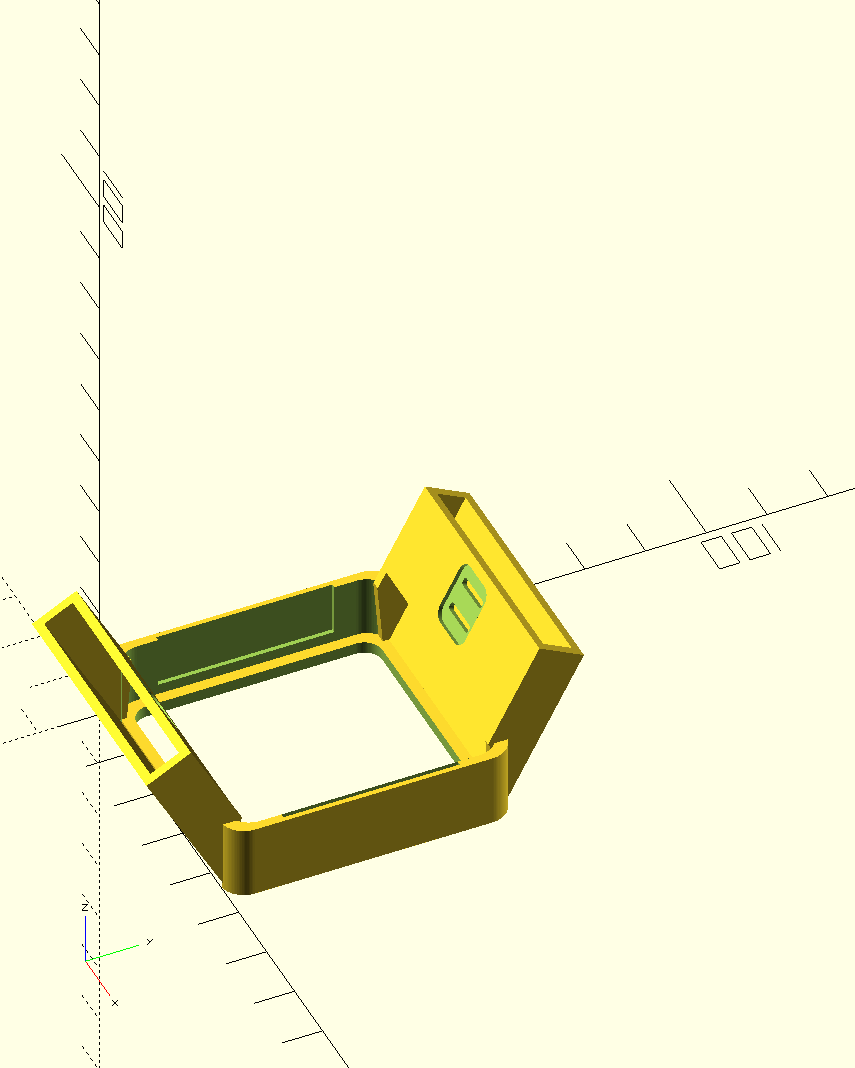
3D printing
I printed the fasteners in PETG (test print in PLA), on one of the Prusa i3 MK3S printers - this was the easy part. The watch holder and the straps are printed in Ninjaflex Cheetah (from NinjaTek) the filament has a Shore Hardness of 95A. I used one of the Prusa i3 MK3S printers, and used the "Generic Flex" profile in PrusaSlicer. Worked out nicely. Ninjaflex shrinks a bit more than PLA (I measured 0.7mm on a 100 mm long strap) so I had to add tolerances to the parts.
MetaWatch preparation
To prepare the watch, I only had to cut off the (broken) wristband on both sides. I just counted up three "stripes" from the start and cut the wristband there. 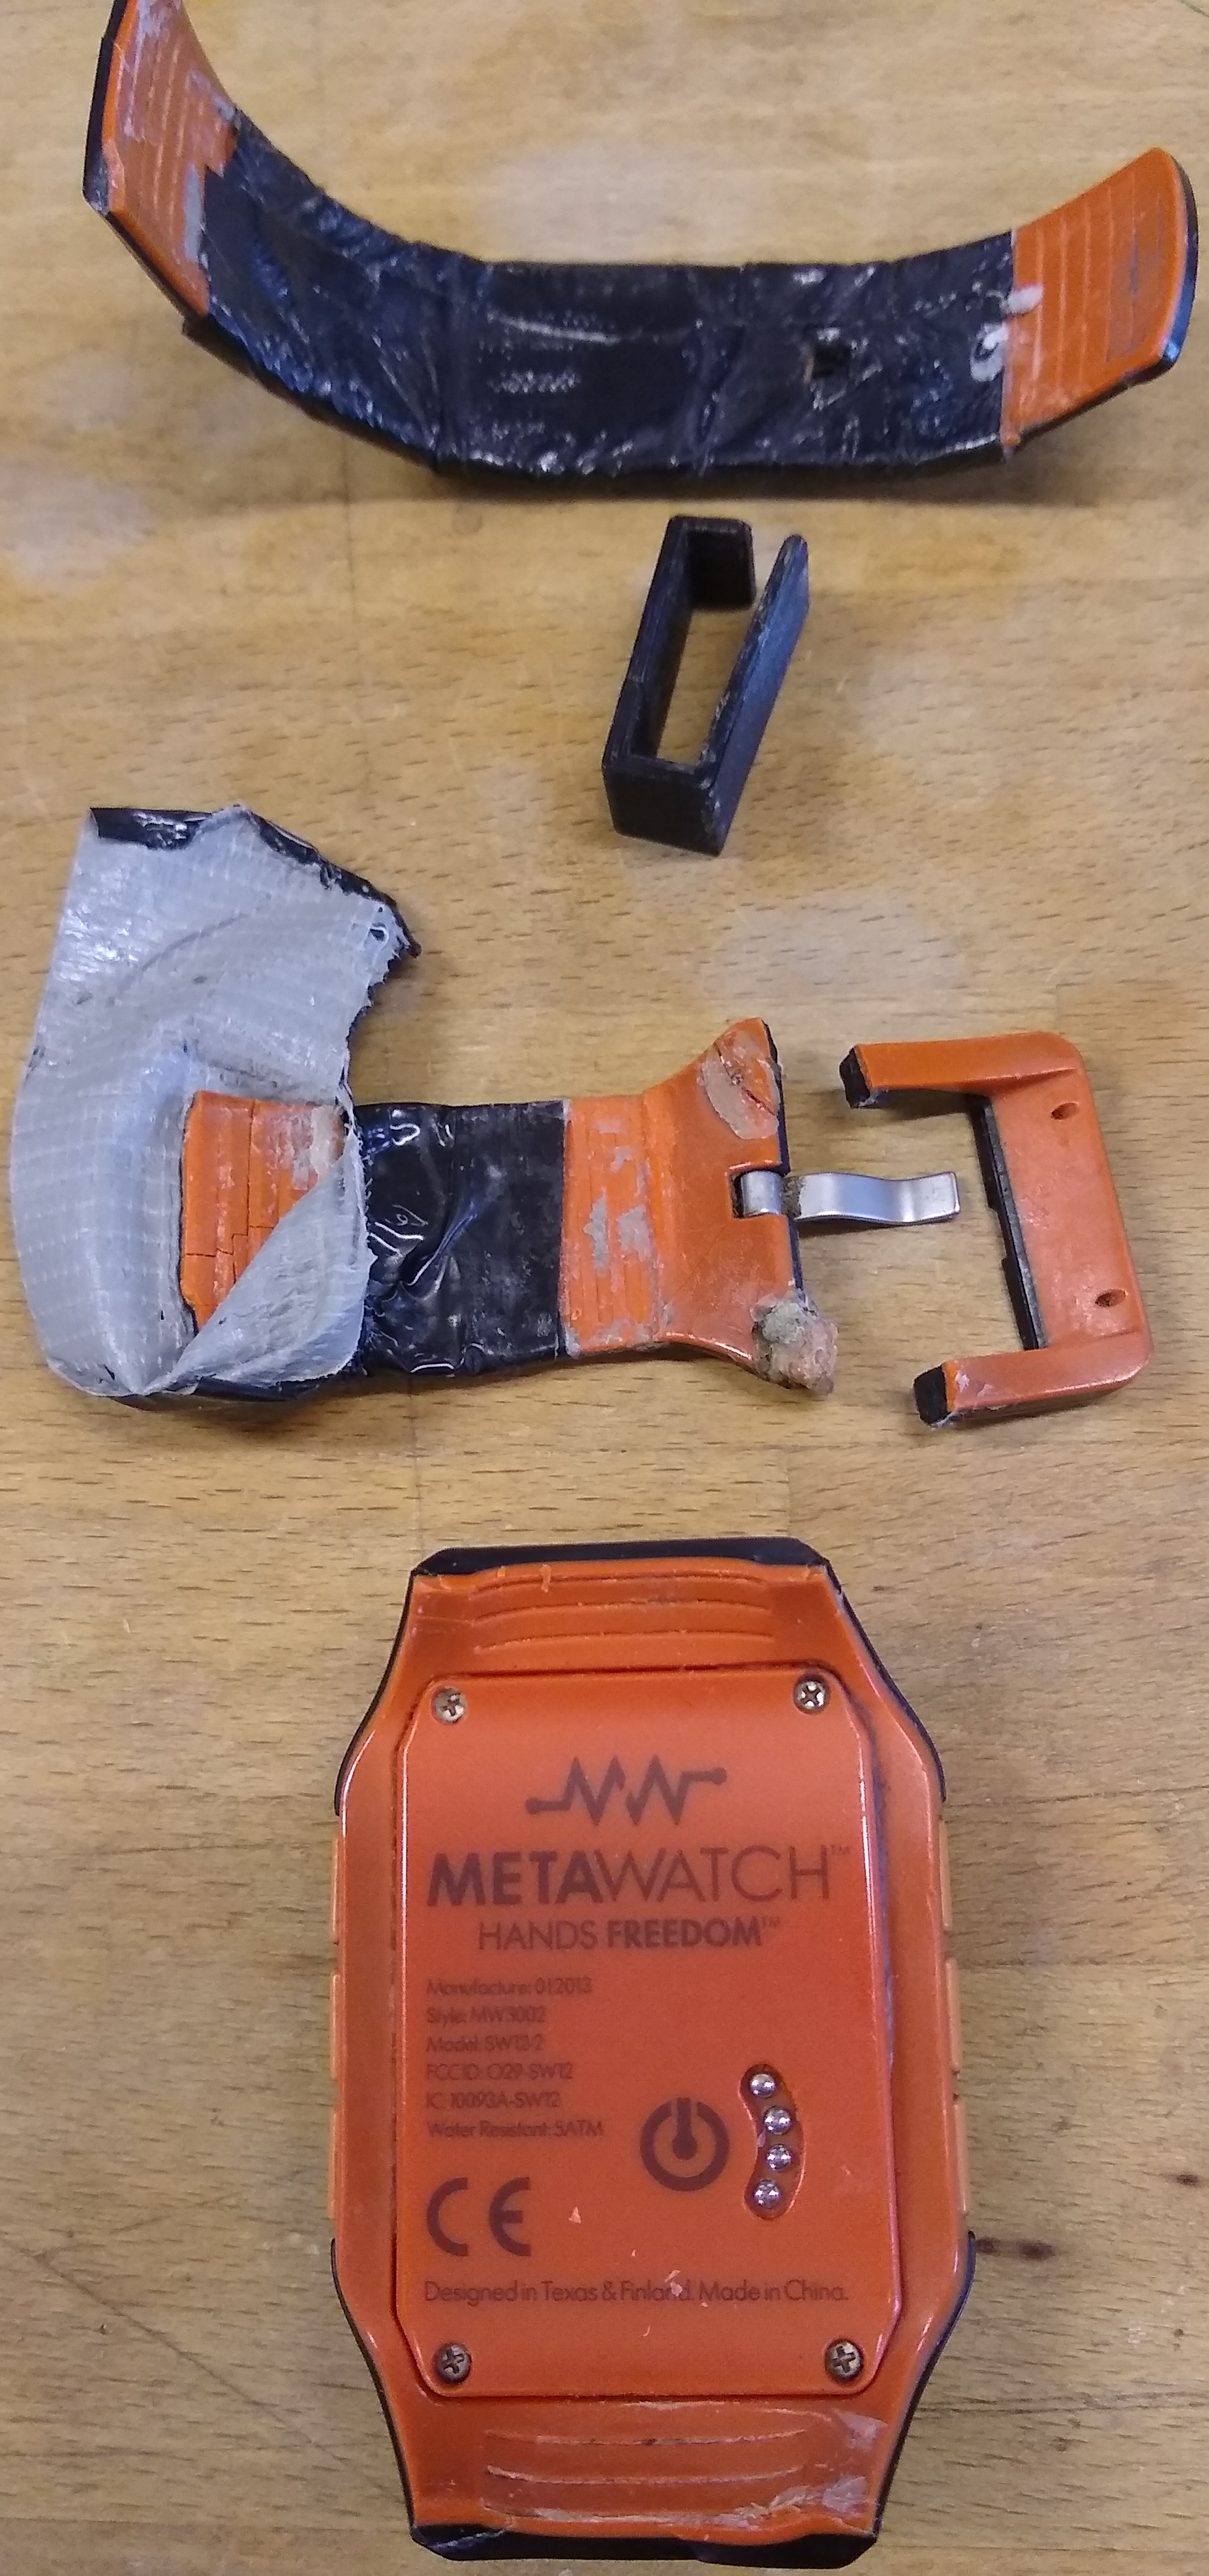
Assembly
Assembly consisted of wrangling the Strata into the holder (good that the Ninjaflex is both flexible and strong), inserting the fasteners into the holes, then inserting the straps and securing them by pushing the fasteners through the holes in the strap. The final part is putting the fastener through the holes on the end of the outer strap.
The assembled watch and wristband:
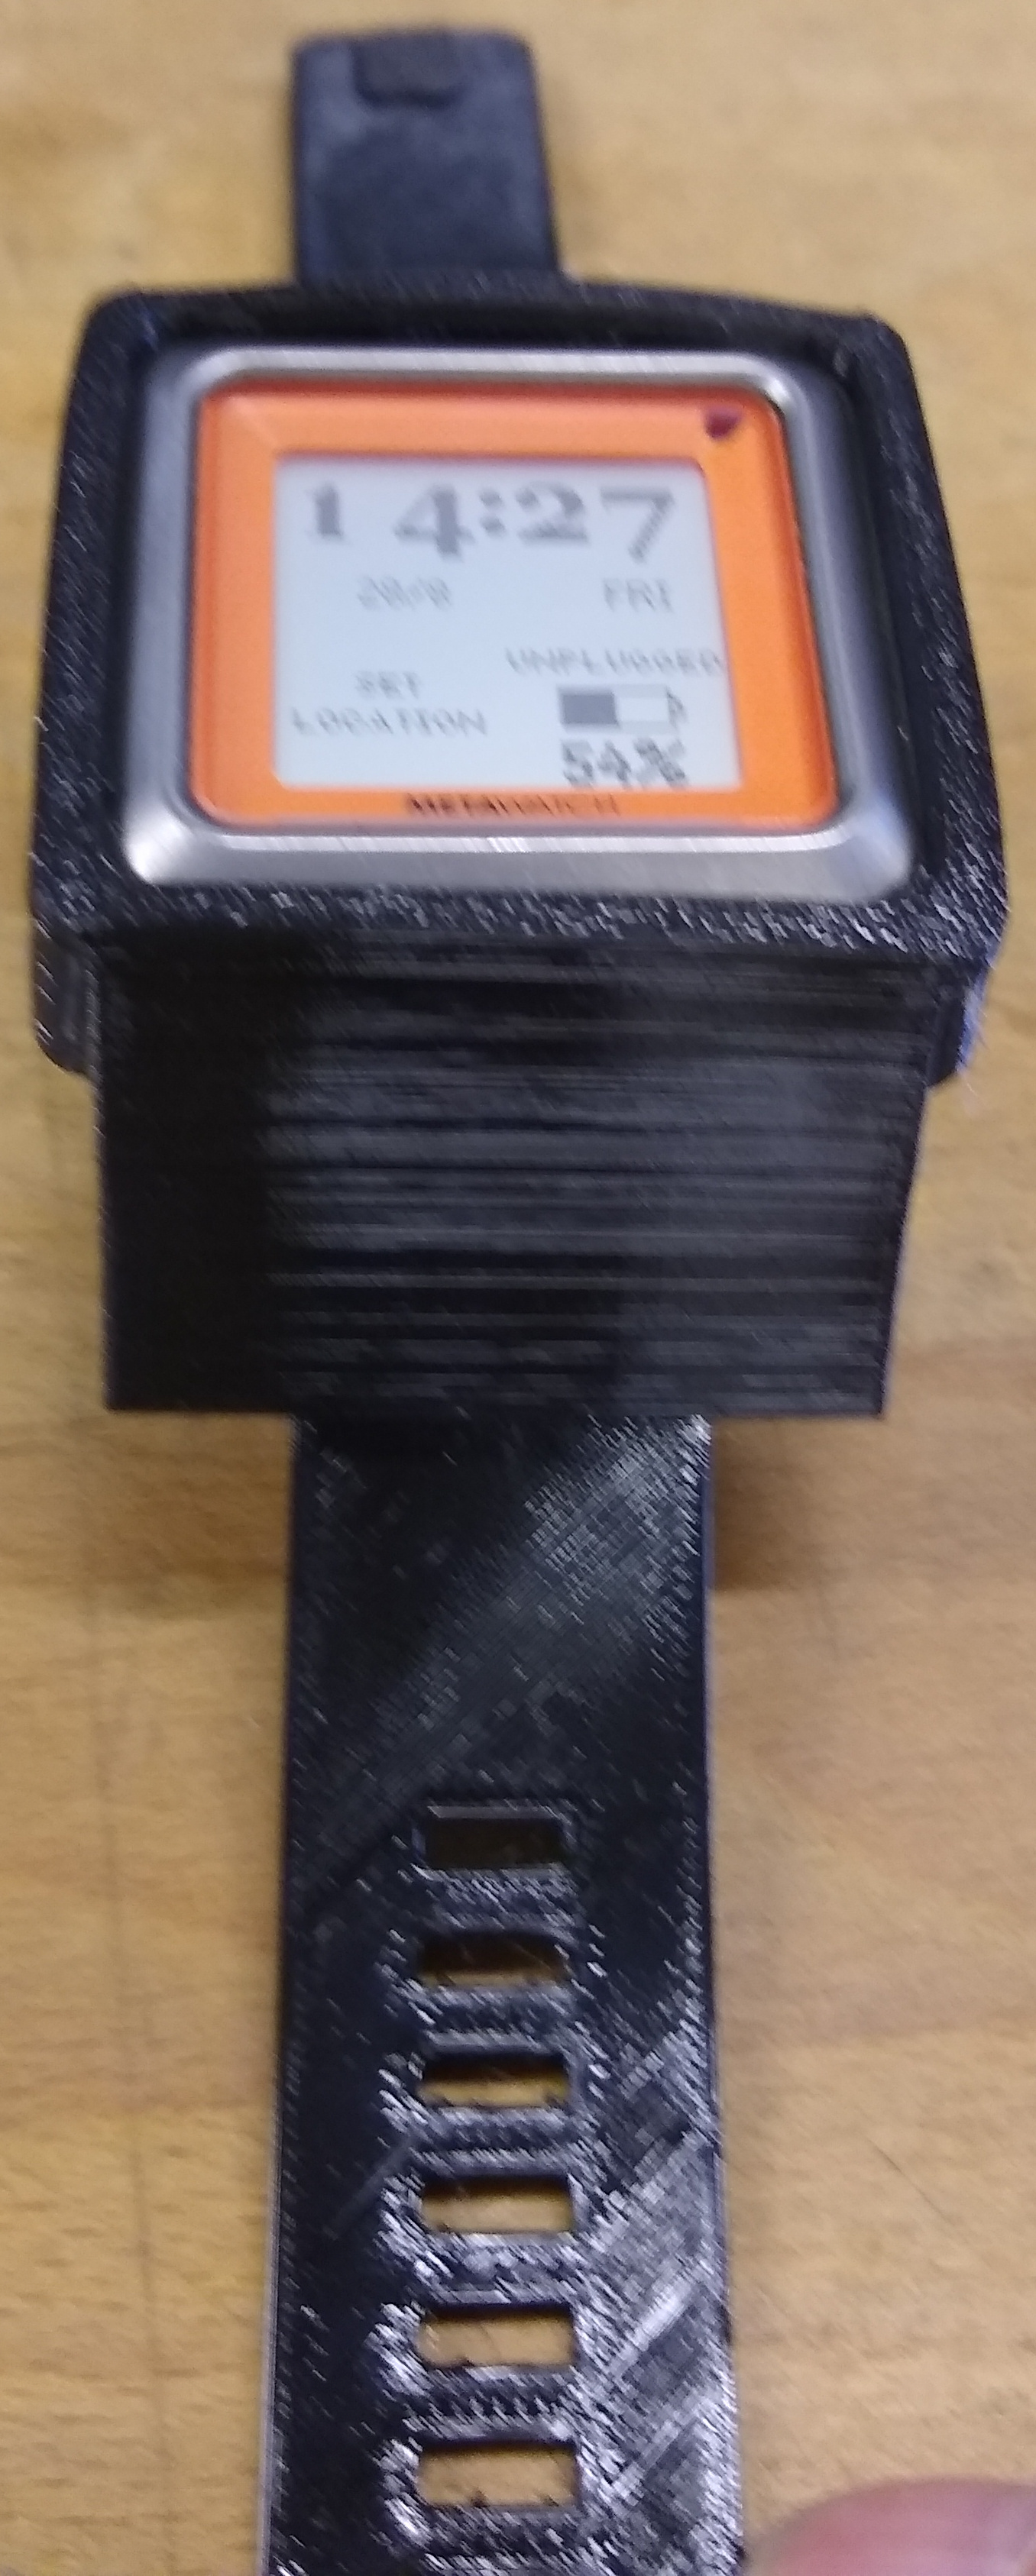
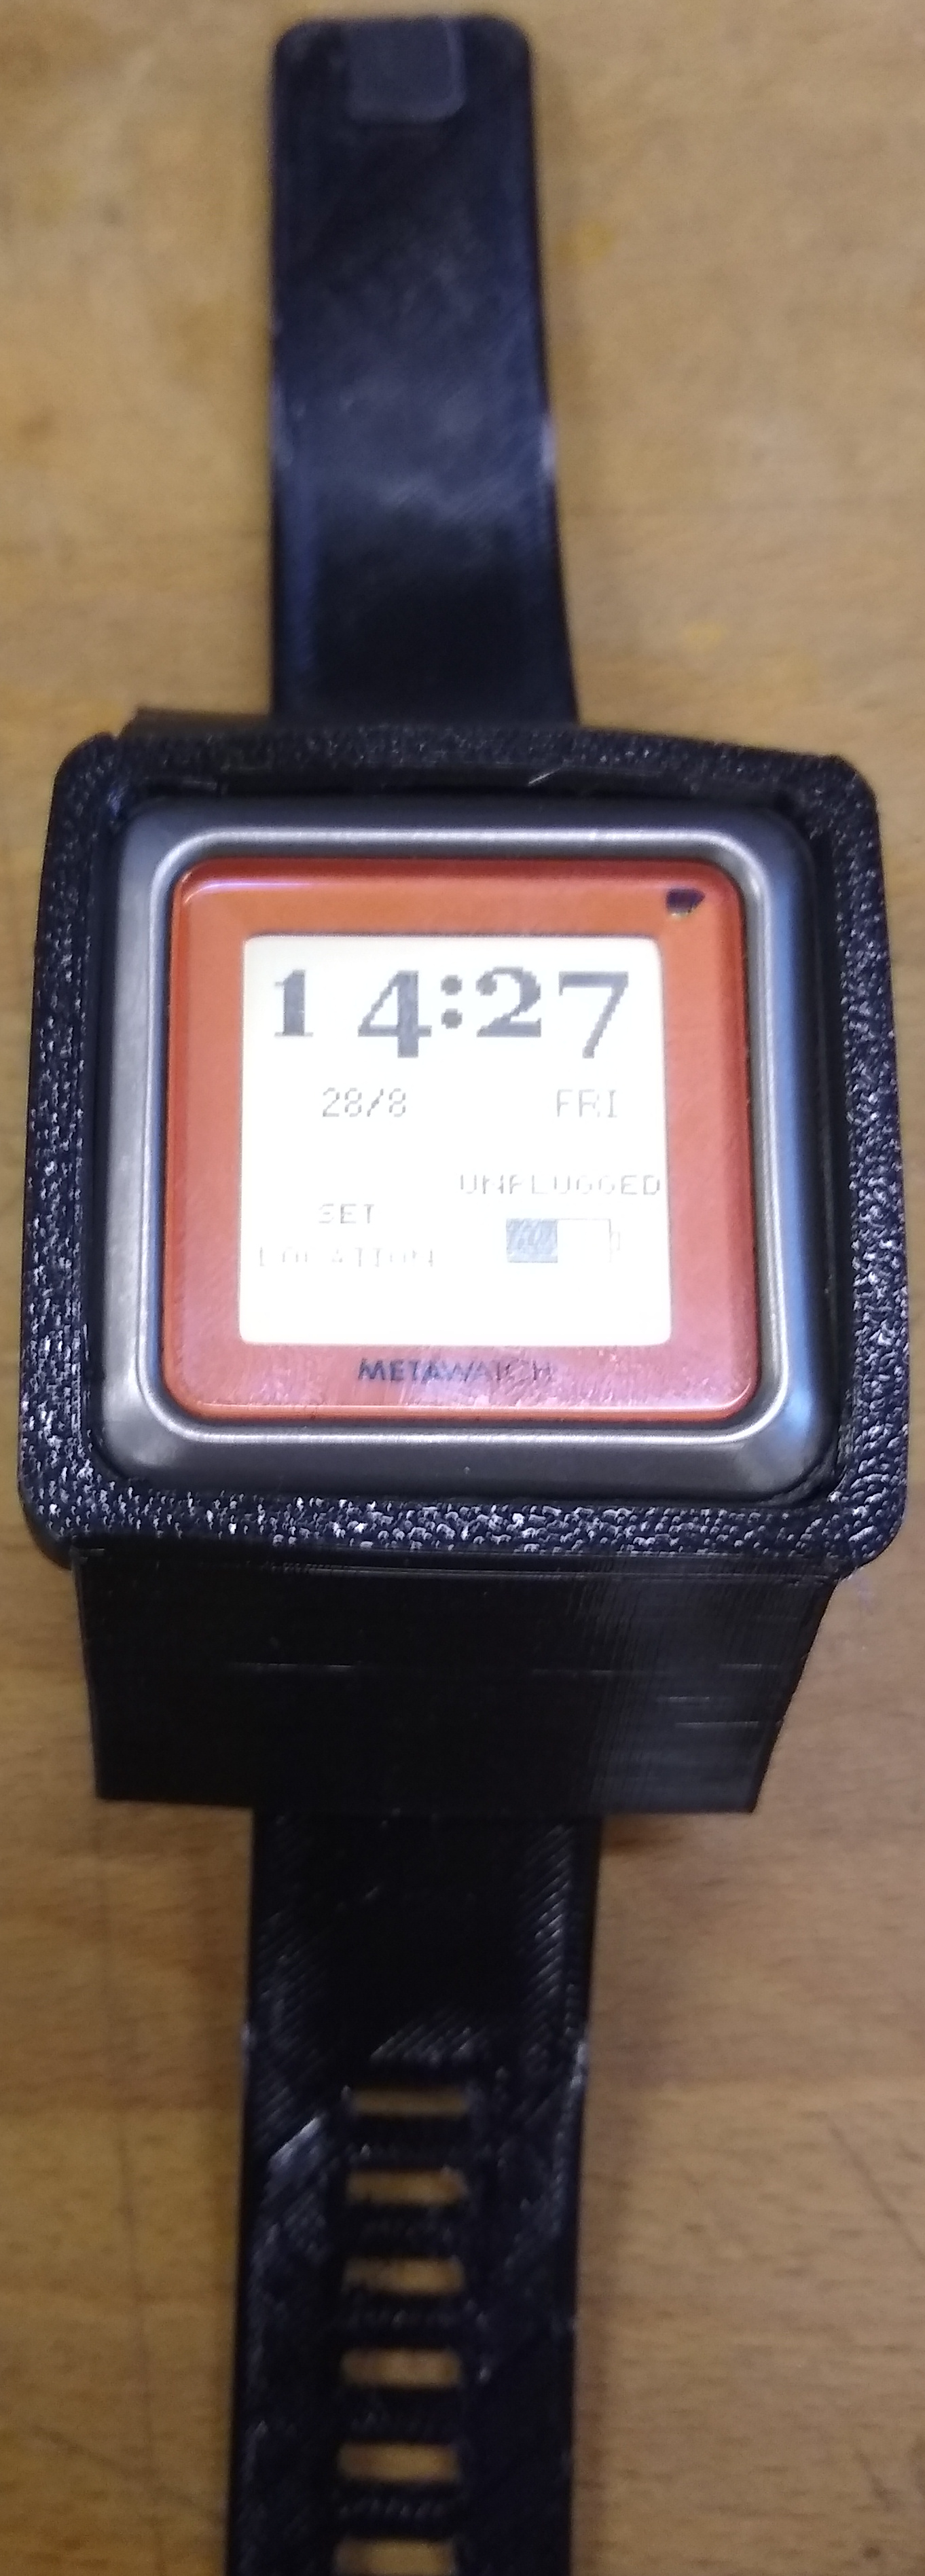
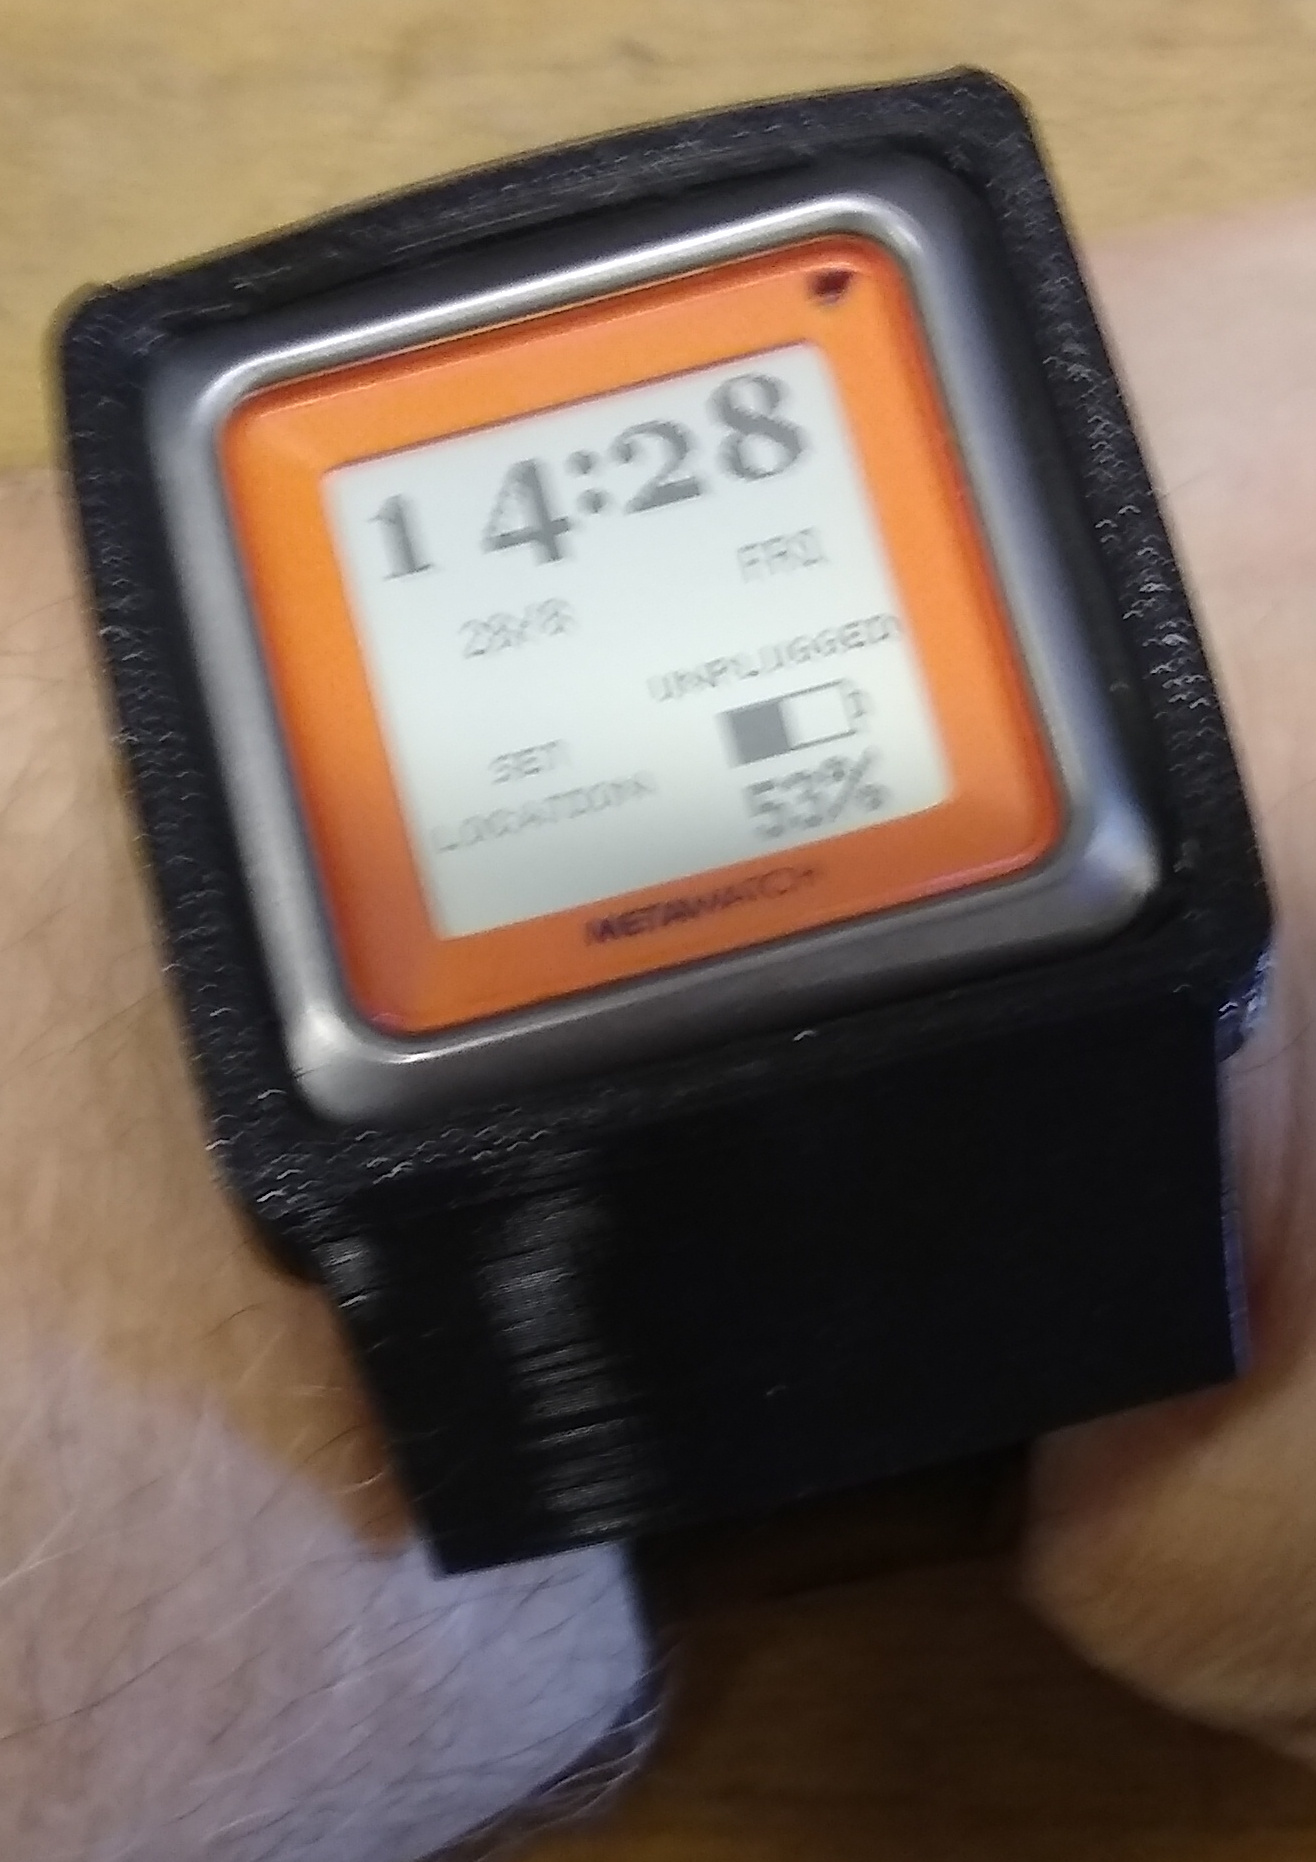
In use
I have used the wristband a few days now, and it works quite well. It remains to see how long it lasts. A couple of pictures in use:
This was quite a challenging project, but the end result was very satisfying.